Introduction
The calculated tags allow you to create new variables based on existing qualified tags available in the platform. They are linked by a defined equation.
How to create a calculated data?

When you click on "New calculated series", you will land in the following window

- "Fixed calculation interval" tick box: select whether you want the calculation to be performed at a selected time interval (ON) or if the result should be "floating" (OFF).
- Option 1: button "Fixed calculation interval" turned on (by default):
In this case, you can specify the granularity (frequency between points) you want to perform your calculation with.
Usage : adapted if you want to reuse the result of this first calculated tag in another calculated tag (chain of calculations) - Option 2 : button "Fixed calculation interval" turned off:
In this case, you do not specify any granularity; the calculation then adapts to the period (timerange) that is defined in the data visualization widget.
Usage: suitable for EPIs (Energy Performance Indicator; i.e. ratios) or if you want to display your results with a different granularity on several dashboards
NB: We recommend not to check "Fixed calculation interval" when the calculated series is defined as a ratio. On the other hand, please note that only pre-calculated tags can be selected as input for other calculated series.
- Option 1: button "Fixed calculation interval" turned on (by default):
- Granularity selection: Set the granularity of the calculated series (only for pre-calculated). In case of non-pre-calculated series, the selected granularity applies only for the preview.
- Add data: Add new data, as operand of the calculated series. The operands used for the equations must me qualified tags.
- Term: Define the label of each series to be used in the expression panel. For instance, if you label one variable as “A”, you will have to indicate “A” in the expression field
- Aggregation: Select the aggregation of the input variable to be applied over the selected granularity (or over the widget granularity, in case of non-precalculated series)
- Interpolation: Select the interpolation of the input variable to be applied over the selected granularity (or over the widget granularity, in case of non-precalculated series)
- Actions - "Chart" button: See the preview of each input variable
- Actions - "Settings" button: Open the input variable in a new Tab of the browser (only when the input variable is a calculated series)
- Actions - "Bin" button: Remove one input variable
- Expression panel: You need to write the mathematical equation of the calculated series. You can click on the button “?” for help concerning the syntax of the platform. Note that you can use logic operators, and complex mathematical functions.
- Previsualisation: See the preview of the calculated series, to check how the calculated series looks like.
- Time range selection: Change the time range of the calculated series preview.
To validate the creation of your calculated series, click on the "Next" button.
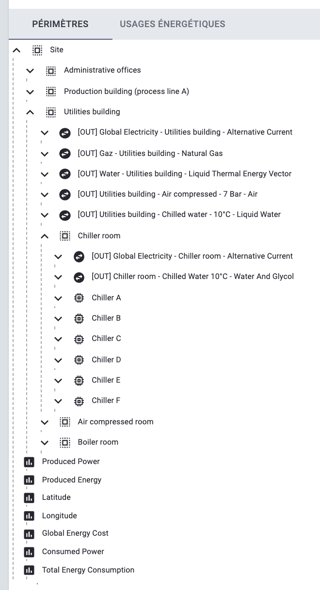
You must then contextualize your tag. In this part, you can select in the tree structure the perimeter, equipment, network or energy use associated with your tag and previously defined in the Mapping workspace.
This step is optional. If you have not defined your mapping beforehand, click directly on Next. Be careful, this series will not be contextualized and some processes will not be automated.
You will then have to indicate the name, the unit and the property of your newly created variable and confirm.
Editing a calculated data
As for the qualified series, you can also edit your calculated data.
In the main menu of the Data Source workspace, simply click on the "pencil" icon to edit your tag.

In addition to being able to change the name, the unit and the contextualization of the tag, editing will allow you to change the formula or the calculation parameters of the tag concerned.